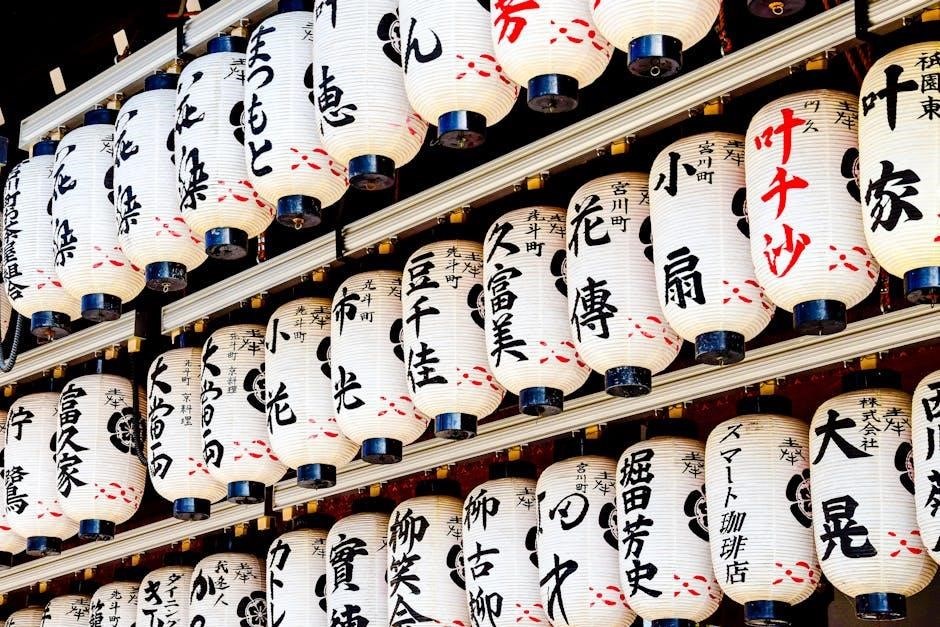
Magic: The Gathering draws inspiration from nature, blending ecosystems, elemental forces, and organic aesthetics into its gameplay and artistry, creating a immersive experience rooted in the natural world.
1.1 Exploring the Intersection of Nature and Magic
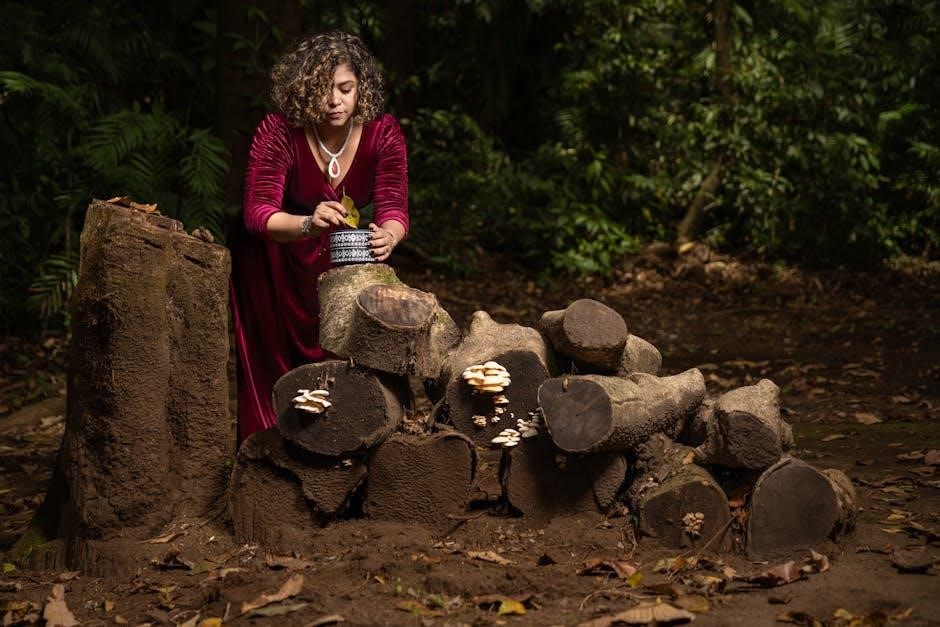
Magic: The Gathering intricately weaves natural elements into its core design, creating a harmonious blend of ecosystems and magical forces. From lush forests to towering mountains, nature’s diversity inspires the game’s aesthetic and gameplay mechanics. The natural world serves as a canvas for creature design, with beasts, birds, and insects mirroring their real-world counterparts. Elemental forces like fire, water, earth, and air are central to spell creation, reflecting the dynamic interplay of nature’s power. This intersection fosters an immersive experience, allowing players to connect with the organic beauty of the world while exploring magical realms. The fusion of nature and fantasy creates a unique dimension where the boundaries between reality and imagination blur seamlessly.
1.2 The Role of Nature in Shaping the Game’s Aesthetics
Nature’s influence on Magic: The Gathering’s aesthetics is profound, with ecosystems and organic forms inspiring the visual identity of cards and worlds. Land cards, such as forests, mountains, and plains, depict serene natural landscapes, immersing players in vibrant ecosystems. Creature designs often mirror real-world animals, blending fantasy with familiar natural elements. This aesthetic approach creates a visually cohesive and immersive experience, drawing players into the game’s enchanting environments. The interplay of natural beauty and magical elements ensures the game’s artistry remains captivating and deeply rooted in the organic world, fostering a sense of wonder and connection to nature’s splendor.
Creatures Inspired by Nature
Magic: The Gathering features creatures inspired by nature, from majestic beasts to intricate insects, each reflecting real-world counterparts and symbolic meanings, enriching gameplay with natural authenticity.
2.1 Beasts and Their Natural Counterparts
In Magic: The Gathering, beasts are often designed to mirror real-world animals, drawing inspiration from their physical traits and behaviors. For instance, cards like Grizzly Bears and Wolves of the Hunt reflect the strength and pack mentality of their natural counterparts. These creatures are not only visually reminiscent of animals but also incorporate abilities that mimic their real-life characteristics, such as speed, ferocity, or endurance. This design approach creates a sense of familiarity and grounding, making the game’s fantasy elements more relatable. By studying animal behaviors and adaptations, designers craft cards that feel authentic and connected to nature, enhancing the immersive experience of the game.
2.2 Birds and Their Symbolism in Magic
Birds in Magic: The Gathering are often depicted as symbols of freedom, agility, and keen vision, drawing inspiration from their natural behaviors. Cards like Skyship Stalker and Aven Mime showcase birds as swift and strategic creatures. Their abilities frequently reflect traits such as flying or scouting, emphasizing their aerial dominance. Birds also carry cultural symbolism, like messengers or omens, which are woven into their roles in the game. This blend of natural traits and symbolic meanings makes birds versatile and meaningful additions to the game’s ecosystem, resonating with players on both practical and thematic levels while enriching the game’s connection to the natural world.

2.3 Insects as a Source of Inspiration
Insects have long been a source of inspiration in Magic: The Gathering, with creatures like bees, wasps, and beetles featured prominently. These creatures often exhibit traits such as swarming, resilience, and adaptability, which are reflected in their in-game abilities. For example, cards like Giant Solifuge and Scute Mob showcase the relentless nature of insects. Their small size belies their impact, as they can overwhelm opponents through sheer numbers or unexpected strength. Insects also inspire unique mechanics, such as resource generation or hive-minded behaviors, adding layers of strategy and depth to the game. This inspiration not only enriches gameplay but also highlights the fascinating diversity of insect life in nature.

Nature’s Influence on Spell Design

Nature’s elemental forces, such as fire, water, earth, and air, inspire spell mechanics, mirroring natural phenomena like volcanic eruptions, tidal waves, and forest growth, enriching gameplay with organic themes.
3.1 Elemental Spells Reflecting Natural Forces
Magic: The Gathering’s elemental spells draw heavily from nature, mimicking forces like fire, water, earth, and air. Fire spells, such as Lightning Bolt and Fireball, evoke volcanic eruptions and wildfires, delivering immediate, destructive power. Water-based spells, like Tidal Wave or Flood, mirror the ocean’s overwhelming force, often creating barriers or disrupting opponents. Earth spells, such as Stone Rain or Earthquake, reflect geological instability, damaging structures or land. Air spells, like Whirlwind or Storm, capture the unpredictability of weather, affecting multiple targets or altering the battlefield. These elemental spells not only reflect natural phenomena but also balance and interact, much like ecosystems in the real world, adding depth to the game’s design and strategy.
3.2 Druidic and Shamanic Magic in the Game
Druidic and shamanic magic in Magic: The Gathering are deeply intertwined with nature, emphasizing harmony with the environment and the cycles of life. Druids often manipulate natural resources, summoning creatures or enhancing the battlefield through spells like Cultivate or Harmonize. Shamanic magic, meanwhile, focuses on primal forces and spirit interaction, with cards such as Llanowar Elves or Shamanic Revelation showcasing the connection to ancestral and natural energies. These magic types highlight the balance and resilience found in ecosystems, reflecting themes of growth, renewal, and the interplay between living beings and their surroundings. They add a layer of strategic depth, encouraging players to align their tactics with the rhythms of nature.
Worlds and Biomes in Magic: The Gathering
Magic’s diverse worlds feature biomes like forests, mountains, plains, and swamps, each with unique ecosystems and roles, reflecting nature’s complexity and shaping gameplay dynamics distinctively.
4.1 Forests and Their Role in the Game
Forests are a fundamental element in Magic: The Gathering, representing lush, vibrant ecosystems teeming with life. They are often depicted as enchanted woodlands, home to ancient trees, mythical creatures, and druidic magic. Forests play a crucial role in the game’s mana system, providing green mana, which fuels spells and abilities related to growth, beasts, and natural forces. The artwork and flavor text of forest cards frequently emphasize harmony with nature, showcasing diverse flora and fauna. From towering canopies to misty glades, forests in Magic embody the essence of nature’s resilience and renewal, making them a cornerstone of the game’s thematic and mechanical design.
4.2 Mountains and Their Significance

Mountains in Magic: The Gathering symbolize power, resilience, and primal energy. Often depicted as rugged, volcanic landscapes, they are closely tied to red mana, representing destruction, chaos, and raw strength. These towering natural formations serve as both barriers and sources of ancient power, hosting dwarven clans and dragons. The artwork frequently showcases fiery peaks, rocky terrains, and mythical creatures like dragons, emphasizing themes of conquest and elemental force; Mountains also play a strategic role in gameplay, influencing card abilities and mana generation. Their presence in the game underscores the enduring clash between nature’s ferocity and the ambition of its inhabitants, making them a vital part of Magic’s natural tapestry.
4.3 Plains and Their Representation
Plains in Magic: The Gathering embody harmony, life, and community, often depicted as vast, open grasslands teeming with vitality. These serene landscapes are deeply connected to white mana, symbolizing order, protection, and healing. The artwork frequently features rolling hills, grazing animals, and celestial elements, evoking a sense of peace and unity. Plains are home to noble creatures like knights and angels, reflecting themes of justice and salvation. In gameplay, Plains serve as a cornerstone for white decks, enabling strategies focused on defense, healing, and swarm tactics. Their presence underscores the balance between nature’s tranquility and the organized forces of civilization, making them a cornerstone of Magic’s natural and thematic diversity.
4;4 Swamps and Islands as Natural Environments
Swamps in Magic: The Gathering are eerie, mysterious wetlands tied to black mana, symbolizing decay and rebirth. These environments are often depicted with murky waters, twisted vegetation, and dead trees, reflecting themes of sacrifice and darkness. Islands, associated with blue mana, represent vast, serene bodies of water, sometimes with mystical elements. They evoke a sense of intellect and control, often shown with coastal areas or floating ruins. Both Swamps and Islands contribute to the game’s thematic diversity, offering contrasting yet immersive natural settings that enhance gameplay and narrative depth.

Art and Flavor Text Inspired by Nature
Magic’s art and flavor text often draw from natural elements, creating vivid, immersive depictions of landscapes and creatures, enhancing the game’s thematic depth and connection to the earth.
5.1 Land Cards Depicting Natural Scenery
Magic: The Gathering’s land cards are renowned for their breathtaking depictions of natural environments, from lush forests to serene plains and mysterious swamps. These cards often feature intricate artwork that captures the essence of ecosystems, immersing players in the game’s natural themes. The artistry reflects the diverse biomes of the game’s worlds, each with unique characteristics that inspire wonder. Artists skillfully blend color, texture, and lighting to create vivid landscapes that feel alive. These land cards not only serve as essential resources for gameplay but also as windows into the natural beauty of Magic’s vast multiverse, enhancing the game’s aesthetic and thematic depth.
5.2 Creature and Spell Card Artwork
Creature and spell cards in Magic: The Gathering showcase the game’s deep connection to nature through vivid, detailed artwork. From majestic beasts to intricate insect designs, these cards highlight the diversity of natural life. Elemental spells often depict forces like fire, water, earth, and air, drawing inspiration from natural phenomena. The artwork enhances gameplay by visually representing the themes and mechanics, creating an immersive experience. Each piece reflects the game’s blend of fantasy and ecology, with creatures and spells often mirroring real-world ecosystems. This artistic approach not only beautifies the game but also reinforces its naturalistic themes, making the magic feel deeply rooted in the organic world.
Magic: The Gathering’s enduring connection to nature is evident in its ecosystems, elemental forces, and artistic designs, reflecting a timeless inspiration from the organic world.
6.1 The Enduring Influence of Nature on Magic: The Gathering
Nature has long served as a cornerstone of Magic: The Gathering’s identity, inspiring its design, aesthetics, and lore. From the serene forests to the majestic mountains, natural elements are woven into the game’s core mechanics and artistry. The portrayal of ecosystems, elemental forces, and organiclifeforms creates a profound connection between players and the game’s immersive worlds.
The influence of nature is evident in the game’s land cards, creatures, and spells, which often reflect real-world biodiversity and environmental themes. This connection fosters a sense of wonder and engagement, making nature a timeless and integral part of Magic’s enduring appeal.